
The Mission: New Fishroom
Already deep into the hobby and owning nearly all of the tanks that are shown in the set-up below, I knew I wanted my new house to incorporate a fishroom. In my old house I had a fairly similar set-up spread out in an unfinished basement. This time I had the opportunity to hopefully use the lessons I had learned over the years and set things up right from the beginning.
The Space:
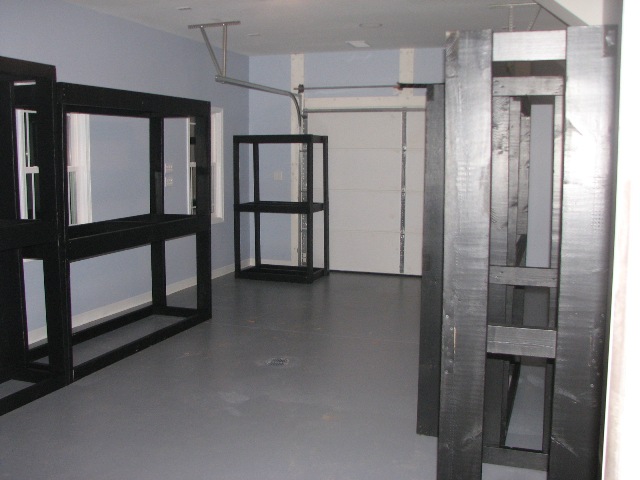
The fishroom is approximately 26’ x 15’, and a “semi-finished” workspace room in the basement. An insulated garage is on one end to make moving the stands and tanks in and out of the room easy. It is a daylight basement with 3 full windows and the ceiling is approximately 9.5’.

The Floor:
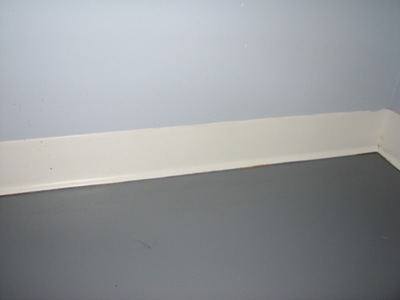
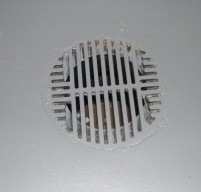
The floor is painted concrete and has a floor drain in the middle of it. Initially, the builder had recommended an acid stain on the concrete. However, that proved problematic, was slippery and aesthetically very disappointing. Since we were in a time pinch, we decided to paint it with a special concrete paint used in car shops and workrooms. It’s light gray and has a bit of texture to it. The white border seen in the pictures is PVC-based industrial “crown molding.” You probably recognize is from applications in office buildings around carpet. It was recommended as further protection against water damage in case something goes awry in the room. This basement area is also slightly lower than the other basement areas, so that water would presumably exit through the floor drain and under the garage door in the case of an emergency.
The Stands:
In my previous set-up I had a “cobbled” together set of stands. I wanted to maximize space and make this room look neater, as well as make sure the stands weren’t going to fail on me (I had seen some scary signs in some of past stands of bowing.) I created very specific sizes and measurements and gave them to a rough carpenter. For a very affordable price (I got very lucky!!) I received 5 stands that each allow for three shelves of tanks. He also primed them with a mildew resistant oil-based primer and gave them two coats of semi-gloss black paint. While they’re a bit rough (not a finish carpenter) and some of the corners aren’t perfect, they’re very stout and have been heavily reinforced. I already had a sixth one to complete the set shown in the lay-out and photos. In case anybody is interested, here are the notched designs I sent to the builder.

My 55’s (rack G and H) are on metal shelves that I bought from Sam’s Club.
Note: This room has ceilings that are over 9’ tall, which has allowed me to comfortably place three shelves of tanks on each stand. I’m also a pretty tall individual, and can still see the fish in these top tanks. However, I do have to heavily utilize a step ladder for feeding and maintenance.
The Power:
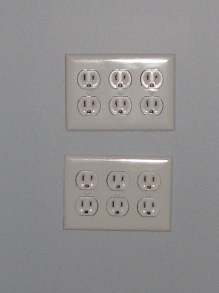
I learned the hard way not to underestimate how much power you’d need to run all of the heaters and lights. This time, I dropped receptacle clusters in groups of 12 outlets. There are 7 of these along the wall, and each represents its own circuit. Then, on the ceiling, there are receptacles that are all on their own, 8th circuit, that will be used to power shop lights (on timers) to light the top shelves of the racks.
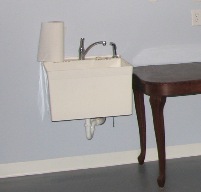
The Water:
There’s a standard utility sink in the room, which has a python hooked up to it nearly 24/7 and has hot and cold water. That coupled with the floor drain should give me good water changing opportunities. I’m lucky to have no chloramines in my city water, and it tends to be soft around 7.0 pH, and nearly perfect. I also own an RO unit that I only bust out for special tanks, which will be housed near the sink.
 |
 |
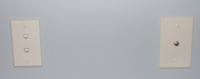
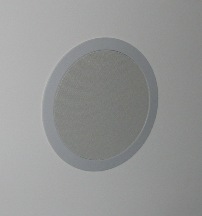
The Technology:
One of the big upgrades this room has over the old one is some structure wiring to allow for some nice enhancement for the human visitors. There’s an Ethernet jack in the wall in case you don’t trust the wireless signal down here (although, it’s strong, too), a cable TV output, and two speakers in the ceiling with a volume control panel mounted on the wall.
 |
 |
The Humidity and Heat:
This was the big sticking point in the room. In the past I’ve had terrific luck using window-mounted fan units to give high air exchange in the fishroom. Since they’re subterranean rooms, the temperature seems to stay fairly constant, anyway. The builder recommended a single vent unit to help maintain the temperature in the summer and winter (and so the space could be considered finished square footage.) The HVAC installation crew “upsold” both the builder and myself on a more intricate unit that was supposed to help control humidity. Long story short…that unit has proven to be a total waste of money. I have reverted back to the original plan of using fan units to push fishroom air out (and pull in less humid air in from the rest of the house.) It’s a low power solution, keeps the room comfortable and around 65% humidity (temp usually mid 60’s), but does mean each tank has to have an individual heater to keep the fish comfy.
Tank Count and Lay-Out:

Note, each number represents a tank of that many gallons. The tank sizes are standard dimensions, except where an “L” signifies they are the alternate “long” version. Red signifies tank sizes I’m still in need of, but their place is ready in the fishroom whenever I run across them.
Rack A Rack B Rack C Rack D |
Rack E Rack F Rack G Shelf 1: 55 Shelf 2: 55 Shelf 3: 55 |
GRAND TOTALS:*
Gallons: 2,010
Tanks: 57
*When those last tanks are found these numbers will be realized.